Huawei Mobile Services on mobile devices has become the new norm. We’ve grown to love it, and managed to use a smartphone without Google Play services. We posted about the best ways to maximize your Huawei device on this link, and to this day, I still wouldn’t mind rocking a device without GMS.
However, some of our readers have been requesting us how they can still install GMS on their new Huawei P40 series smartphones. We scoured the internet to look for the best process to install GMS on our Huawei P40 Pro. We needed to make sure that it’s working so we had to reset our P40 Pro, mixed and matched the right processes, carefully followed steps and became successful without any issues.
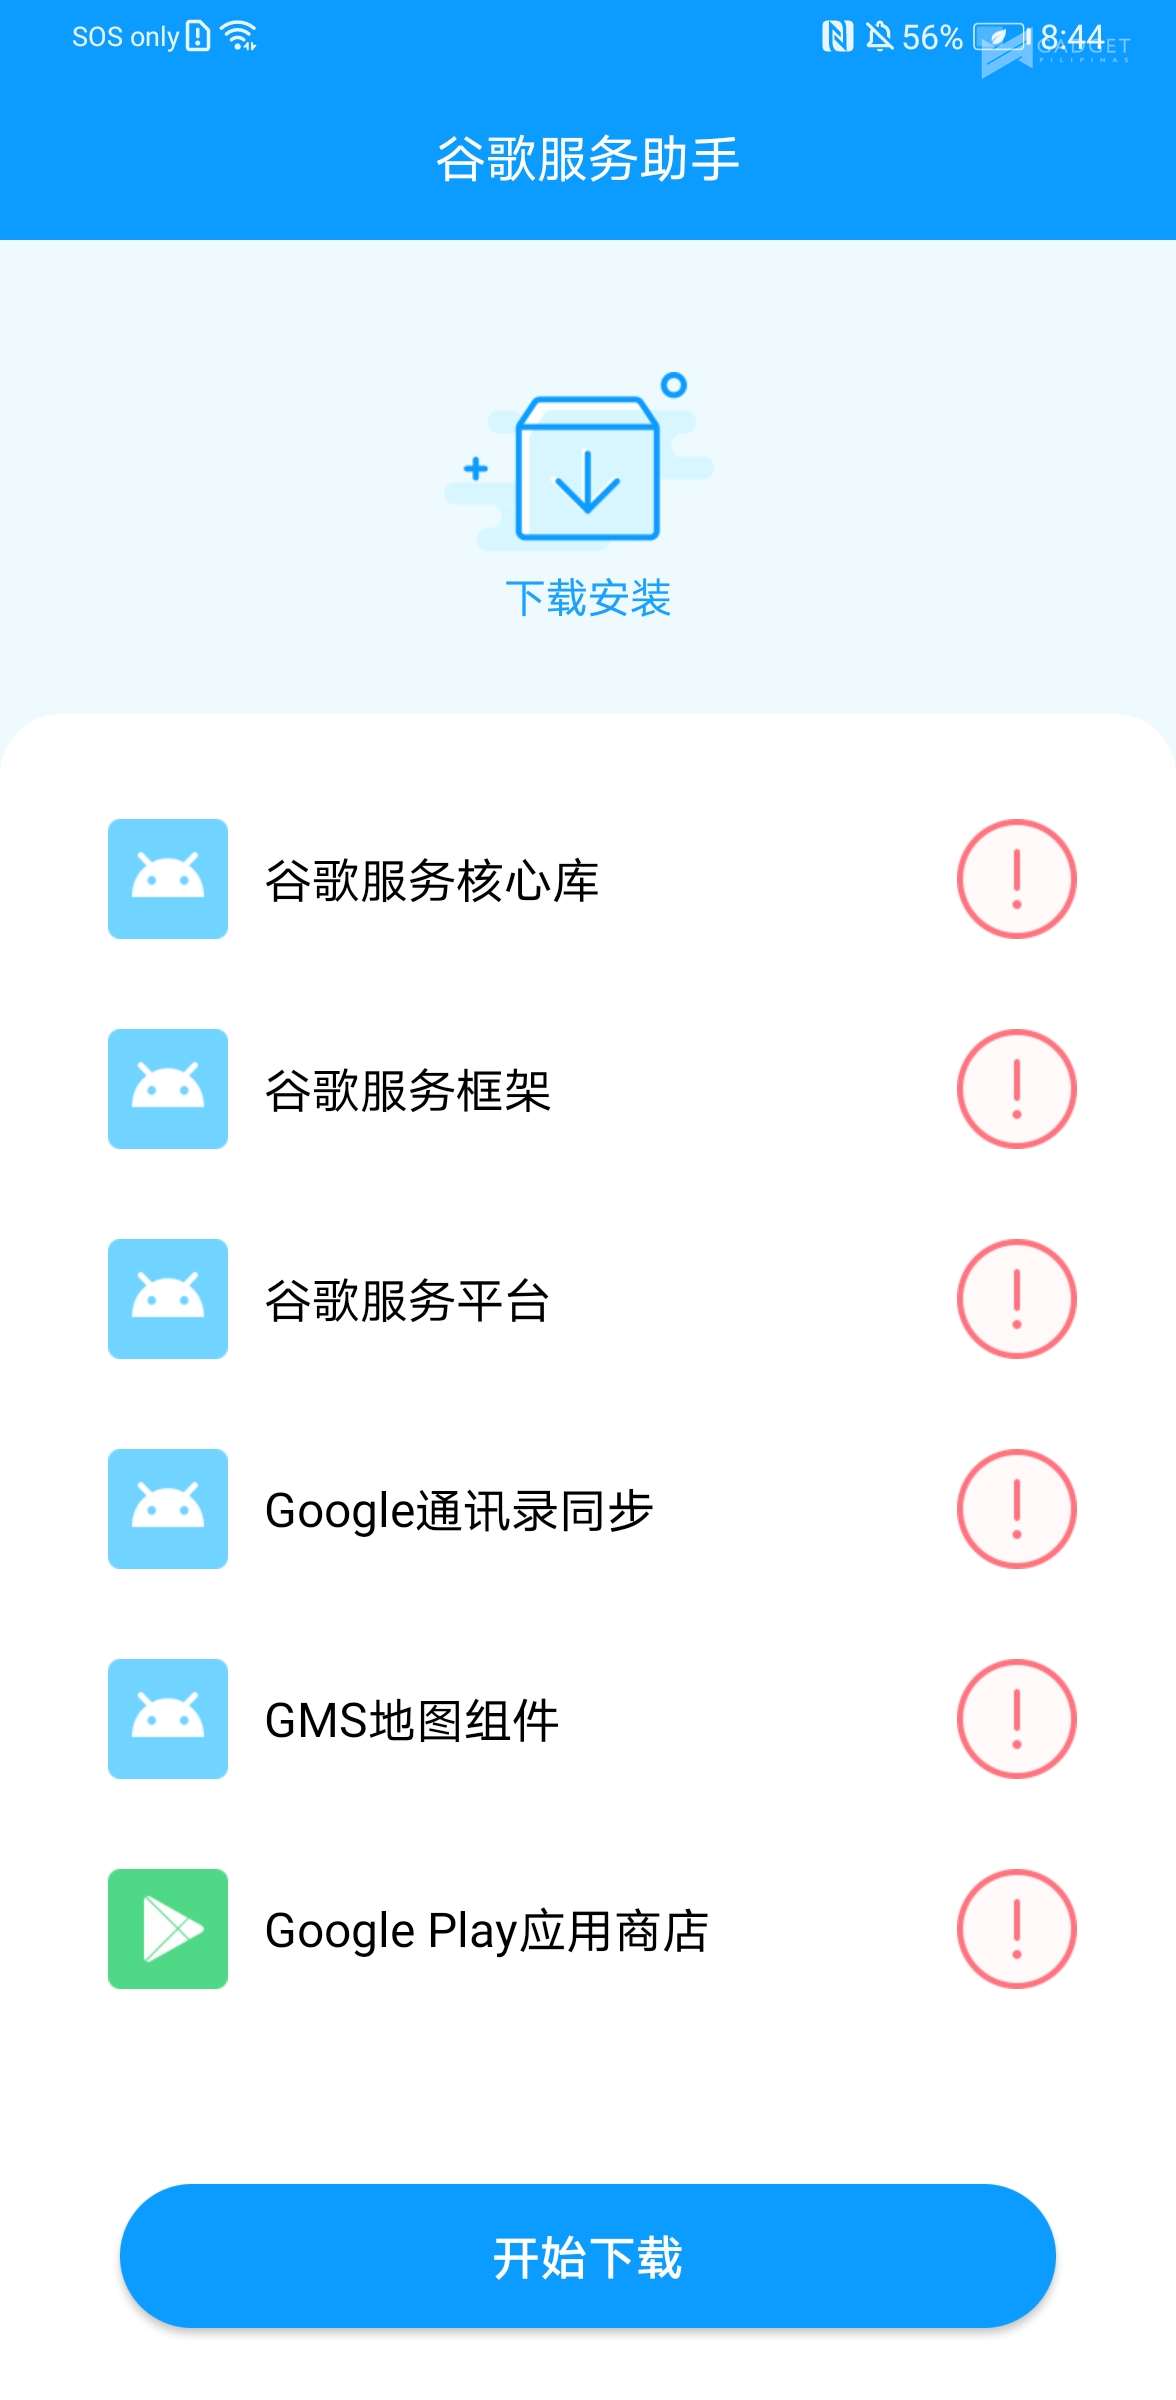
As proof, here are some screenshots of our Huawei P40 Pro with GMS installed.
- GMS P40 Pro 6
- GMS P40 Pro 7
- GMS P40 Pro 8
Here are the steps that you need to do. We will do our best to explain each step and what you should do in case you mess everything up.
How long would everything take? Around 15-20 minutes of your time.
What are the requirements? A working internet connection, a USB OTG drive (Type-C) that you can use on your Huawei device and a separate PC to download and transfer files to your USB OTG drive.
Your willingness to do the steps below is also necessary. While we can guarantee and provide proof that everything is working from our end, we cannot guarantee that you will be successful. Answer this question: Am I willing to take the risk? If your answer is a resounding “Yes”, proceed. If your answer is “No”, read our other articles instead and use your awesome Huawei device with a working HMS. No problem there.
STEPS
RESTORING THE BACKUP FILE
- The most crucial step is to be able to download all the files needed for this process. Once you’ve downloaded the files in the link, you will see 2 Main folders: Huawei and APKs. The Huawei folder contains all the backup files needed for us to restore later. The APKs folder contains all the APK files we will install after we have restored the backup. It is ideal to use a separate PC to download and put the files to your USB Drive.[su_button url=”https://drive.google.com/file/d/1UWCe0gZJhyQUSMMcd5cWEowaI-InevlN/view” target=”blank” style=”3d” background=”#126306″ color=”#ffffff” size=”8″ wide=”yes” center=”yes” radius=”round” text_shadow=”0px 0px 0px #000000″]Download all files here.[/su_button]Props to AndroidGeek for compiling a backup file. We wish to acknowledge their page and Gadged Digital for the steps.
- Extract all the files, and put everything to your USB OTG.
- Move the Huawei folder to the root directory of your USB OTG. It is recommended to delete any pre-existing Huawei folder on the root directory of your USB OTG before moving the Huawei folder you just extracted. Again, we’re talking about USB OTG here. Do not transfer the Huawei folder to the root directory of your internal storage.
- Connect your USB OTG to your Huawei device.
- Open Settings > System & Update > Backup & Restore > Data Backup. Select External Storage. Once you’ve clicked External Storage, you will notice that there will be restore filed available to be used.
- GMS P40 Pro 11
- GMS P40 Pro 12
- GMS P40 Pro 13
- GMS P40 Pro 14
- Pick 28 March 2020 and use the password androidgeek.pt2. You may untick the Settings part, and restore the Apps.
- Once this is done, you will see 2 new applications: Ice Box and another one with Chinese characters. Disregard Ice Box and tap the one with the Chinese characters. Select Activate when prompted with a notification and click Allow. Then, click the blue button with Chinese characters twice. You will notice that the required files are being processed, and seemingly awaiting for the next steps. Do not close the application just yet. Simply press home or swipe up if you’re using gestures.
- Take a breather. What we did above is we used an app called an offline version of LZ Play (Blue icon with G logo and Chinese characters). We spoofed it to process something. While it’s currently “processing” files, we will now proceed to the next steps – install the files.
- INSTALLING THE INITIAL FILES AND ADDING ACCOUNTS. While LZ Play is doing its thing, go back to the files you recently extracted in Step #2. At this point, look for the folder called APKs, and move it to the root directory of your internal storage. Internal storage is your phone’s actual storage.
- Now that everything is in order. Go to to APKs folder in your internal storage and install all APK files labeled (1) to (6). Do not miss this important step.
[su_spoiler title=”Here are the files” style=”simple” icon=”arrow”]
(1)Google android.gms.policy sidecar aps
(2)Google Contacts Sync
(3)GMS Core 19
(4)Playstore
(5)Shared Library
(6)GAM_v4.0.3
[/su_spoiler] - Go to Settings > Users & accounts. Add as many Google Account as you like. There’s no turning back after this, so add everything you can remember.
- INSTALLING THE GOOGLE SERVICES FRAMEWORK and MODDED CORE FILES. After adding all the Google accounts, it’s time to install Google Services Framework and modded core files in order to make GMS run on your Huawei device.
- Go to APKs folder and install (7)Google Services Framework-com.google.android.gsf-29-v10.
- After this, you need to uninstall Google Play services. Go to Settings > Apps > Apps > Search for “Google Play Services”. Uninstall it.
- Go back to APKs folder and install (8)GMS Core Mod 1. What we just did is we installed a modded version of Google Play Services.
- Now, go to Settings > Apps > Apps. Click the 3 dots at the upper right corner and click “Show System Processes”. Select “Google Service Framework”.
- Click Storage. Clear Cache and Data. Go back and uninstall it (Google Service Framework). At this point, you will notice that your Huawei device will or might freeze. Ignore this by simply for restarting the device by holding the Power button for 10 seconds.
- Whether your device froze or not, we will need to install (7)Google Services Framework-com.google.android.gsf-29-v10 again to link it up with the modded Google Play Service we installed in Step 15.
- Open Google Play Store. This should be the first time you’ll open this application. You’ll receive a server error. At this point, I want you to try and wait for it to work. Retry 3 times. This is normal. If it still fails to work, close all apps including Play Store, and open it again.
- GMS P40 Pro 3
- GMS P40 Pro 4
- If it loads properly, we need to uninstall Google Play services again. This is normal and it is crucial to follow this step. I didn’t understand the logic either, but for some reason, this step saved the day and got rid of annoying notifications. Go to
- Settings > Apps > Apps > Search for “Google Play Services”. Uninstall it.
- After uninstalling it, go back to APKs folder and install (9)GMS Core Mod 2.
- That’s it!
Please note that if you still keep on getting annoying Play Protect notifications after Step #22, you may have missed a step or done something wrong. In order to retract everything, simply go to Settings > Apps > Apps > Show System Processes and type ‘Google’. Clear cache and data and uninstall each and everything that starts with Google. Repeat steps 9 to 22.
So far, we managed to replicate these steps on our Huawei P40 Pro and another device we will name within the week. We followed each step and were successful in installing GMS to prove that it works.
[su_spoiler title=”Sources” style=”simple” icon=”arrow”]
(i) AndroidGeek
(ii) Slick4Tech
(iii) Gadged Digital
[/su_spoiler]