Security matters a lot nowadays. A few years ago, I was scouting for a security camera that would allow me to remotely check my kids. IP cameras cost more than PhP10,000+ then. Fast forward to 2014, I came across with this brand, Fukuda Appliances, that offers an affordable IP camera that has the same specs I was looking for. And to top everything all off, Fukuda’s feature-packed IP camera only costs PhP6,500 a piece.
Unboxing
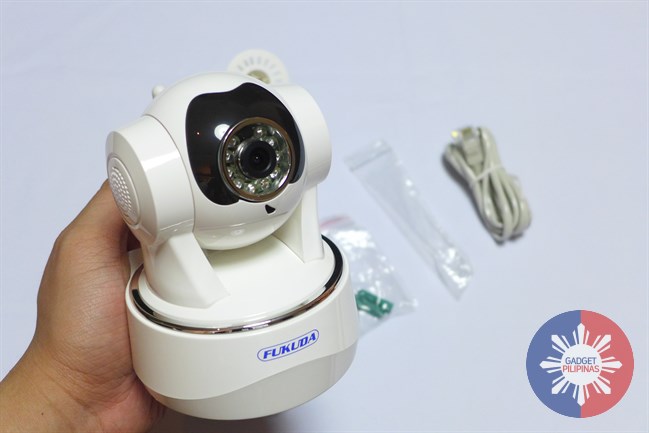
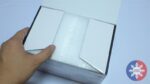
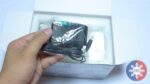
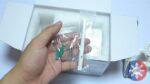
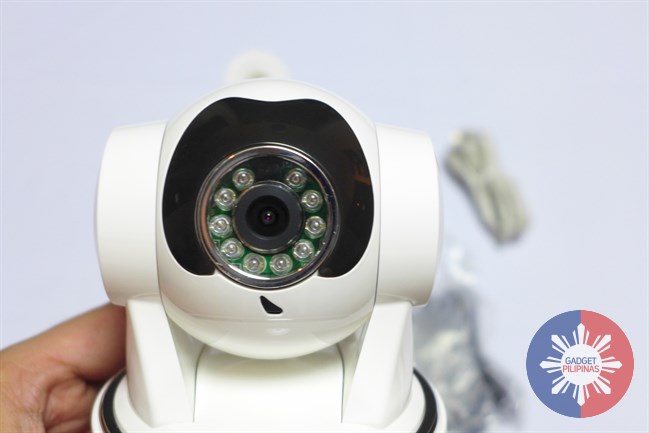
I got the FukudaCam FCM822-1PTMS, an IP camera that supports LAN and Wifi connection. It came in a box that contains the following:

- Fukuda Camera FCM822-1PTMS
- Bracket + Nuts/Bolts
- Power Adaptor
- RJ45 Cable
- Manual
- Driver and Application CD installer
-

- FukudaCam 3
-
- FukudaCam 4
-
- FukudaCam 5
-
- FukudaCam 6
-

- FukudaCam 7
-

- FukudaCam 8
-
- FukudaCam 9
-

- FukudaCam 10
The camera pans and tilts 290-degrees horizontally and 120-degrees vertically. This is perfect to be put at the corner of your home for a wider and better view.
It has a 10-infrared LED with 6m distance that basically aid the camera to spot movements. When enabled, the camera can be programmed to trigger an alarm whenever any form of movement is detected to alert you accordingly.
It also supports Wi-Fi so you can easily relocate the camera to somewhere more strategic provided that you’ve set it up completely. Please see instructions/setup process below for your reference.
The camera also has a built-in microSD slot so you can increase the size of its storage where you put snapped photos and recorded videos on the fly. There are also built-in microphone and speaker so you can easily talk and converse with the people near the camera. Should you feel that its built-in speaker isn’t loud enough, Fukuda also included a 3.5mm audio out interface so you can easily attach external speakers.
TL;DR – it’s 2-way audio; and you can attach an external speaker.
Setting Up
Setting up the camera may only be a breeze if you’re familiar in accessing your router’s dashboard. The best thing to do is to bind/bundle the camera’s MAC address to the LAN adapter’s IPv4 address so you won’t have any connection issues each time you restart your router and your camera.
Provided that you have an internet connection and a router, simply connect the IP camera to the router using the provided LAN capable. Once you have connected it to your router, open your browser and go to your home router’s dashboard via the default gateway (it’s usually https://192.168.1.1). Once you’ve obtained access to your router’s dashboard, navigate your way to DHCP settings and bundle your IP Camera’s MAC address to a specific IP address (e.g., 192.168.1.5) The device will always receive the same IP address each time it accesses the DHCP server.
[su_spoiler title=”IP Camera’s Default Web Access Login” open=”yes” style=”simple” icon=”plus-circle”]
Username: admin
Password: 123456
[/su_spoiler]
If you only wish to quickly connect and monitor, Fukuda included a CD that contains the FukudaCam Installers for desktop and mobile.
-
- FukudaCamn Sample 4
-

- FukudaCamn Sample 3
Usability
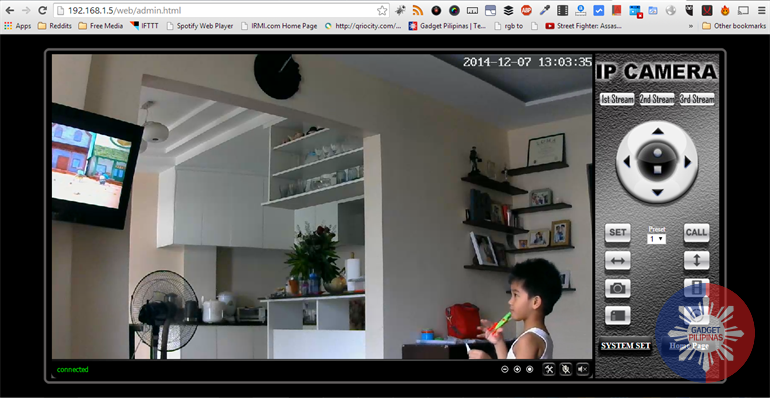
Accessing the camera’s web view gives you more control to the camera. You can basically remotely connect to your camera via the browser provided that both devices are connected in one wireless network. I haven’t tried connecting to web view using DDNS + VPN combo, but it should work.
Should you want to connect to the camera on the go, you may use the FukudaCam iOS or Android applications. Please note that during my test, the Android application force-closed several times when I tried snapping photos and recording videos. Otherwise, the mobile application pretty much does the awesome job in helping you monitor your home or your business.

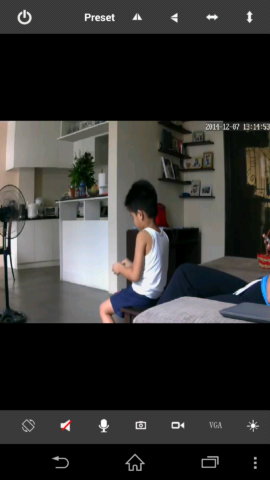
The camera can let you view videos up to 1280 x 720 @25fps. This works better especially if you’re connected to a fast internet connection. Otherwise, you can easily change its video settings via its web dashboard/tool. You can set up to 4 types of streams with different resolution, bit rate and frame rate each. Thru its application window, you can also modify overlay options like time stamp and camera name.
The FukudaCam is loaded with impressive features that’s usually found on its expensive counterparts. Priced at PhP6,500, it’s your best alternative to other brands that offer the same features but at a steeper price. But if you think you need something even more affordable – say less than PhP6,000, Fukuda also offers another variant sans the audio-in feature, and only has 8 infra LEDs – Fukuda FCM824-1PTM.
[pb-app-box-pname=’fukuda.p2pwificam.client’ name=’FukudaCam’ theme=’light’ lang=’en’]

Giancarlo Viterbo is a Filipino Technology Journalist, blogger and Editor of gadgetpilipinas.net, He is also a Geek, Dad and a Husband. He knows a lot about washing the dishes, doing some errands and following instructions from his boss on his day job. Follow him on twitter: @gianviterbo and @gadgetpilipinas.