How I Set Up OpenClaw on My MacBook Pro M5 (Securely)
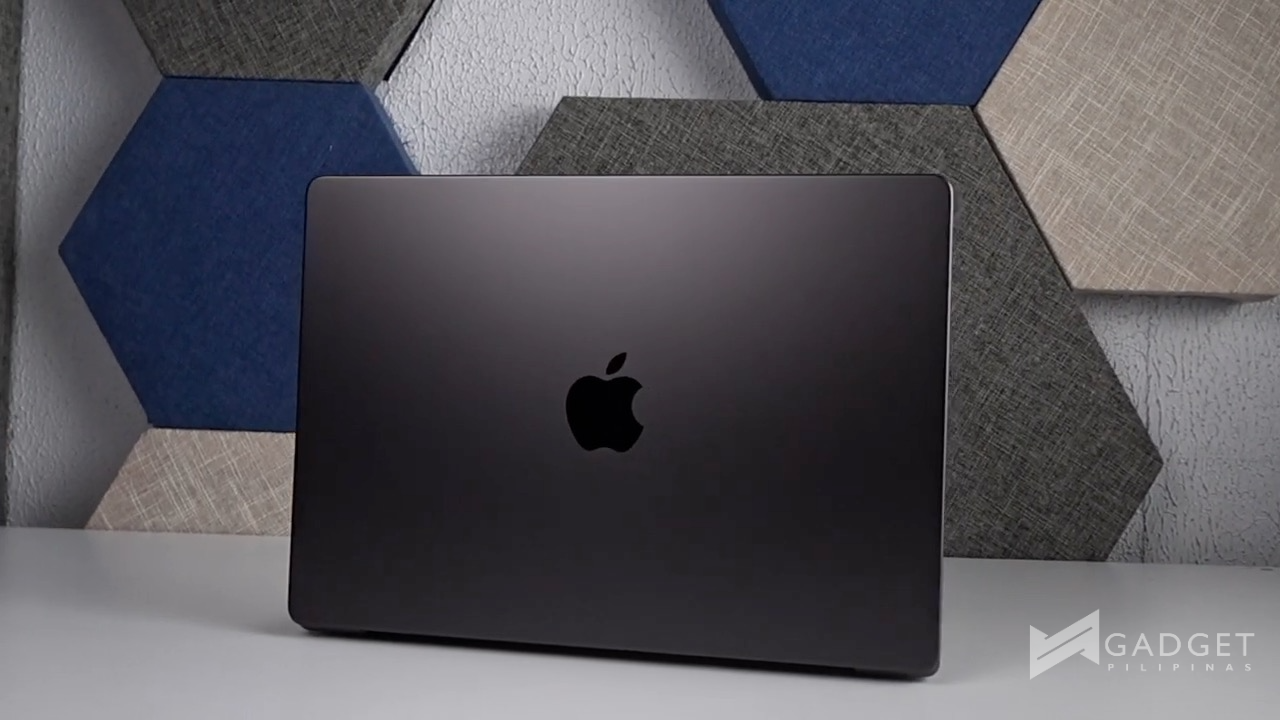
I recently picked up a MacBook Pro M5 with the 10-core chip and 16GB of unified memory. Like a lot of people right now, I wanted to experiment with OpenClaw as an AI secretary and second brain, but I wasn’t ready to buy a separate Mac mini just to run it. More importantly, I didn’t want to give an always-on AI agent full access to my files and credentials.
Here’s how I set it up securely on my MacBook Pro, following the excellent tutorial from Creator Magic and adapting it for my own workflow.
The Security Problem
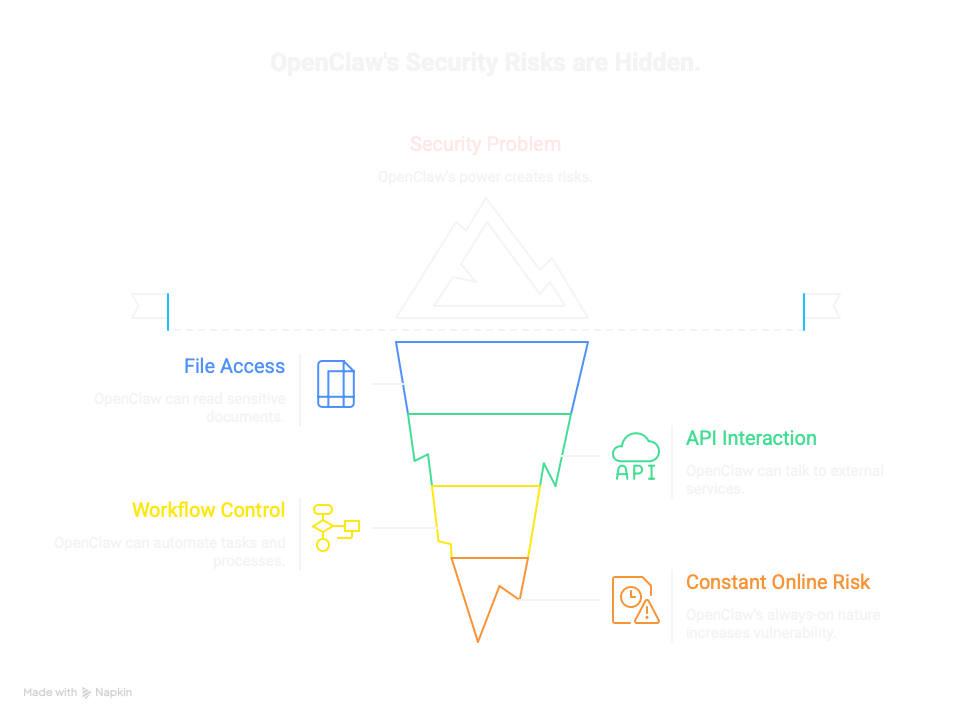
OpenClaw is powerful because it can read files, talk to APIs, and control workflows. That’s exactly what makes it useful, but it also means it can access sensitive documents, photos, contracts, and even credentials if you run it directly on your main machine. Since it’s designed to stay online, that risk is constant.
My solution was to isolate it entirely.
Step 1: Create a Virtual Mac With UTM
Instead of installing OpenClaw on my main macOS, I used UTM to create a virtual macOS instance inside my MacBook Pro. Think of it as a Mac inside a Mac.
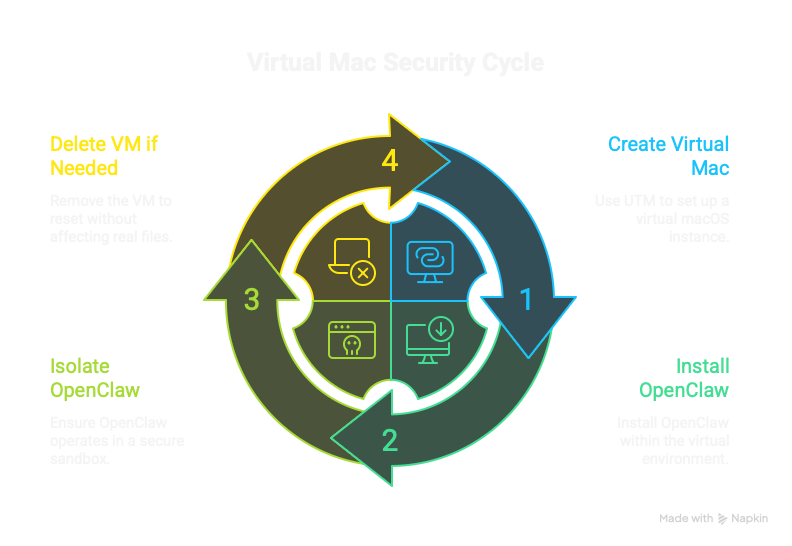
UTM is a virtualization tool that lets you run macOS as a guest system. On the M5, the performance overhead is minimal. I spun up a dedicated virtual Mac with its own disk and environment. OpenClaw lives entirely inside this sandbox. If something goes wrong, I can delete the VM and start over without touching my real files.
This isolation is the first and most important security layer.
Step 2: Install OpenClaw With One Command
Once the virtual Mac is running, installing OpenClaw is simple. The tutorial I followed boils this down to a one-line terminal command inside the VM. Paste it, and it pulls down everything needed to get OpenClaw running.
curl -fsSL https://openclaw.ai/install.sh | bashNo complex dependency hunting. No configuration headaches. The base install is quick, and you can tweak settings later if needed.
Step 3: Gate Credentials Through Zapier MCP
I didn’t want OpenClaw holding my actual passwords or API keys. Instead, I routed all external access through Zapier’s Model Context Protocol (MCP).
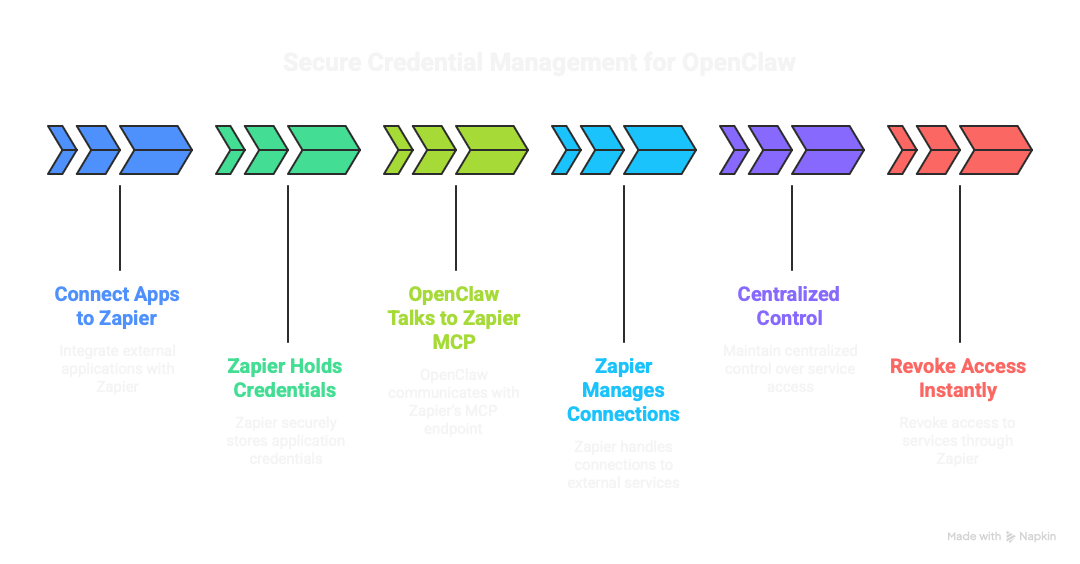
Here’s how it works. I connected my apps (Gmail, Notion, and others) to Zapier. Zapier holds the credentials and handles the connections. OpenClaw only talks to Zapier’s MCP endpoint, never directly to my accounts.
This gives me centralized control. I decide exactly which services the bot can reach, and I can revoke access instantly through Zapier if needed.
Step 4: Bridge With MCPorter
To connect OpenClaw inside the VM to the Zapier MCP endpoint, I installed a single skill called MCPorter. This skill plugs in the MCP URL from Zapier and makes those tools available to the bot.
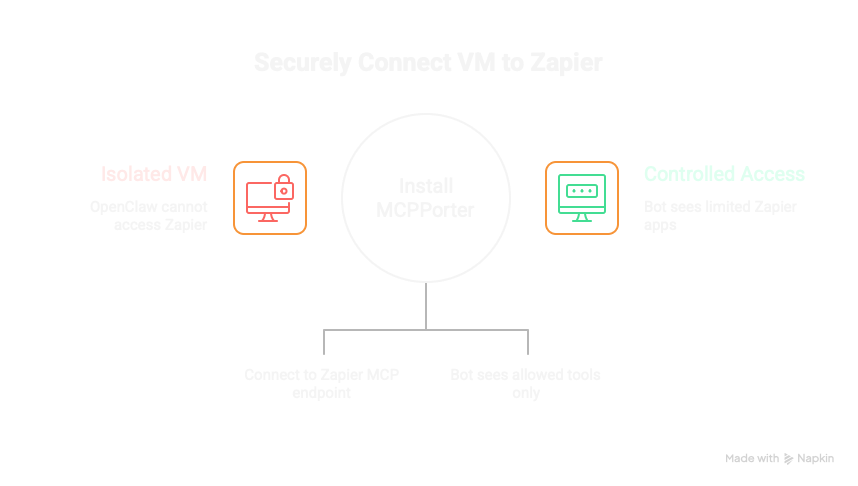
Think of MCPorter as a controlled doorway. OpenClaw sits on one side in the sandboxed VM. Zapier MCP sits on the other side with limited access to specific apps. The bot only sees what I allow through that door.
Step 5: Chat Via Telegram
For the interface, I set up Telegram as the front-end. Once OpenClaw is running and linked to MCPorter, the Telegram bot acts like a contact I can message from any device.
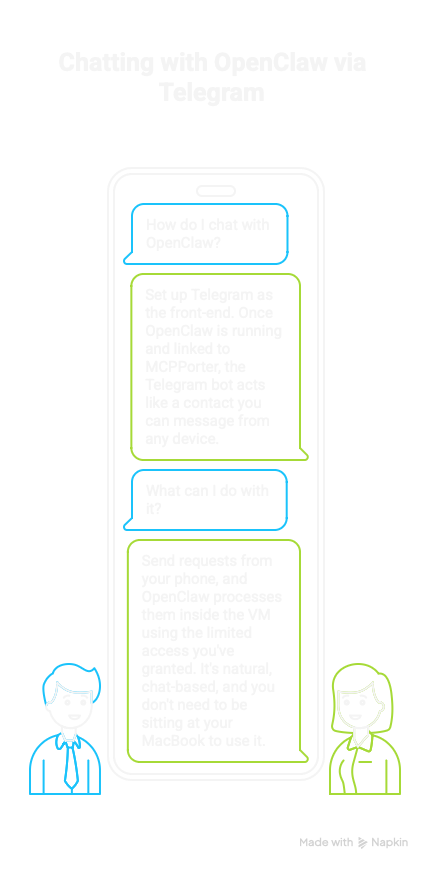
I can send requests from my phone, and OpenClaw processes them inside the VM using the limited access I’ve granted. It’s natural, chat-based, and I don’t need to be sitting at my MacBook to use it.
The Trade-Off: Availability
Because this setup runs on my MacBook Pro, the bot is only active when the machine is turned on and online. This isn’t a 24/7 server setup, and that’s intentional. I don’t want to keep the laptop plugged in constantly for battery health reasons.
However, the whole architecture is portable. If I decide to buy a Mac mini later, I can move this exact setup over and have a dedicated, always-on AI assistant using the same security model.
Why the M5 Handles This Well
The MacBook Pro M5 isn’t just fast. It’s built for AI workloads. Even with a virtual machine, OpenClaw, and my regular content creation apps running, the system stays responsive. The Apple Silicon neural engine and efficient cores handle the parallel workloads without breaking a sweat.
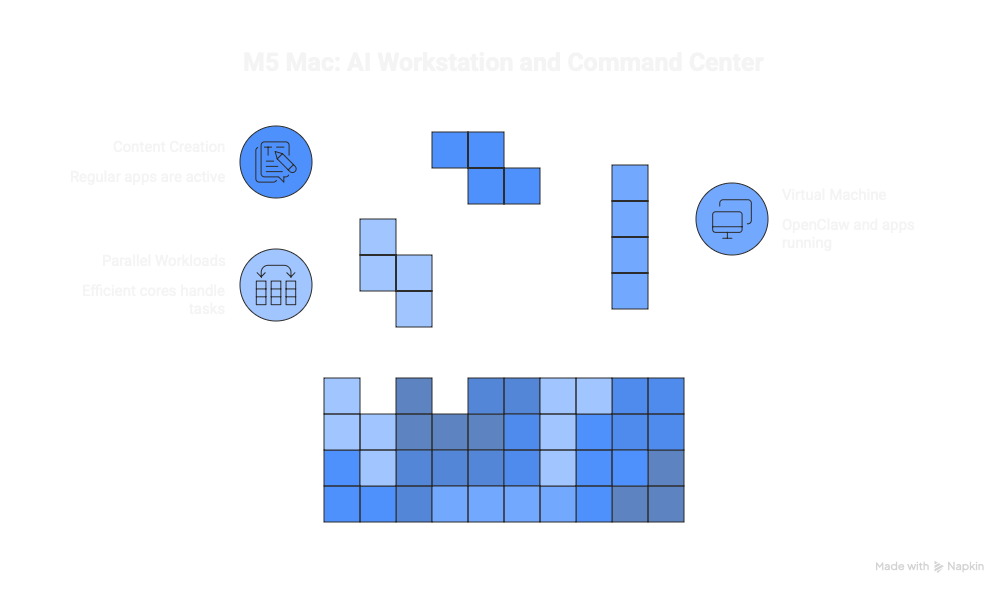
You don’t need a rack server to run AI agents effectively. A well-configured M-series Mac can be both your daily workstation and your AI command center.
Final Setup Summary
- Host: MacBook Pro M5 (10-core, 16GB unified memory)
- Virtualization: UTM running isolated macOS
- AI Agent: OpenClaw installed via one-line command
- Credential Control: Zapier MCP holding all app connections
- Bridge: MCPorter skill connecting OpenClaw to Zapier
- Interface: Telegram for chat-based interaction
That’s the secure, modular setup I use to run OpenClaw as my AI secretary. If you want the detailed walkthrough, check out our video below.

Giancarlo Viterbo is a Filipino Technology Journalist, blogger and Editor of gadgetpilipinas.net, He is also a Geek, Dad and a Husband. He knows a lot about washing the dishes, doing some errands and following instructions from his boss on his day job. Follow him on twitter: @gianviterbo and @gadgetpilipinas.