How to upgrade the SSD of Lenovo Legion Go
The Legion Go, Lenovo’s handheld gaming device, recently landed at our doorstep, and I couldn’t wait to upgrade its SSD. In this article, I’ll take you through the process of swapping out the SSD, sharing my experiences and tips along the way.
Note on Cloning the SSD
Before we go through the disassembly to upgrade, let me first talk about my experience with cloning the SSD. This is the process that worked for me because there does not seem to be a way to do Cloud Recovery, similar to how I upgraded the SSD of the ROG Ally.
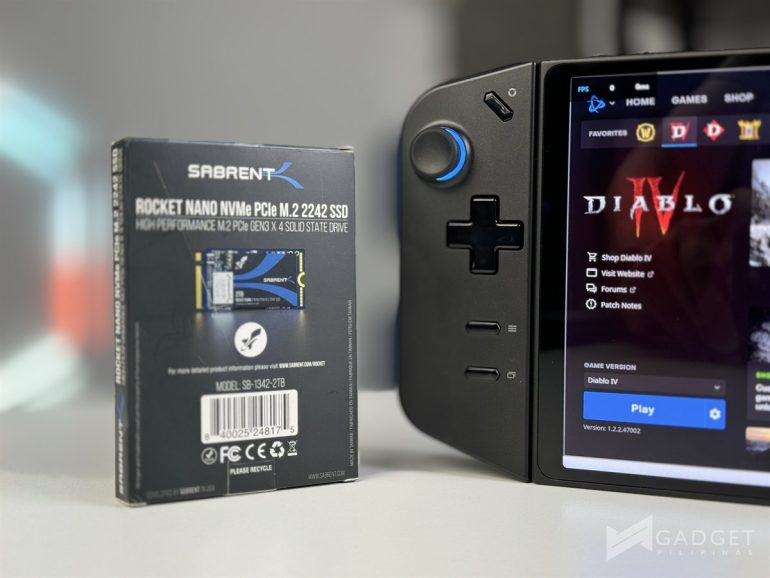
To clone the SSD, I used the Macrium Reflect. It offers a free trial, so you won’t need to make any purchases upfront. However, keep in mind that I had to remove the Legion Go’s SSD and place it in an enclosure. Additionally, I needed another enclosure for the target SSD, a Sabrent 2TB in this case. Although I could have cloned directly from the Legion Go, I encountered Error 9 issue, prompting the need for enclosures.
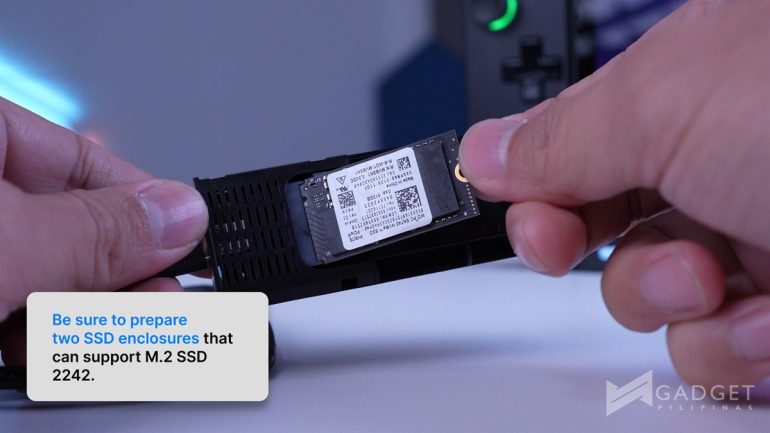
Make sure to choose an M.2 SSD and enclosure with a size of 2242 to ensure compatibility. I’ve provided affiliate links to the ones I used and recommended enclosures and tools below.
- 2TB Sabrent M.2 SSD (2242): https://amzn.to/49woYit
- Ifixit Screwdriver Kit: https://amzn.to/47bob55
- Strix Arion SSD Enclosure: https://amzn.to/466MXSB
- Graugear SSD Enclosure: https://amzn.to/49BnX8I
Step 1: Legion Go Disassembly
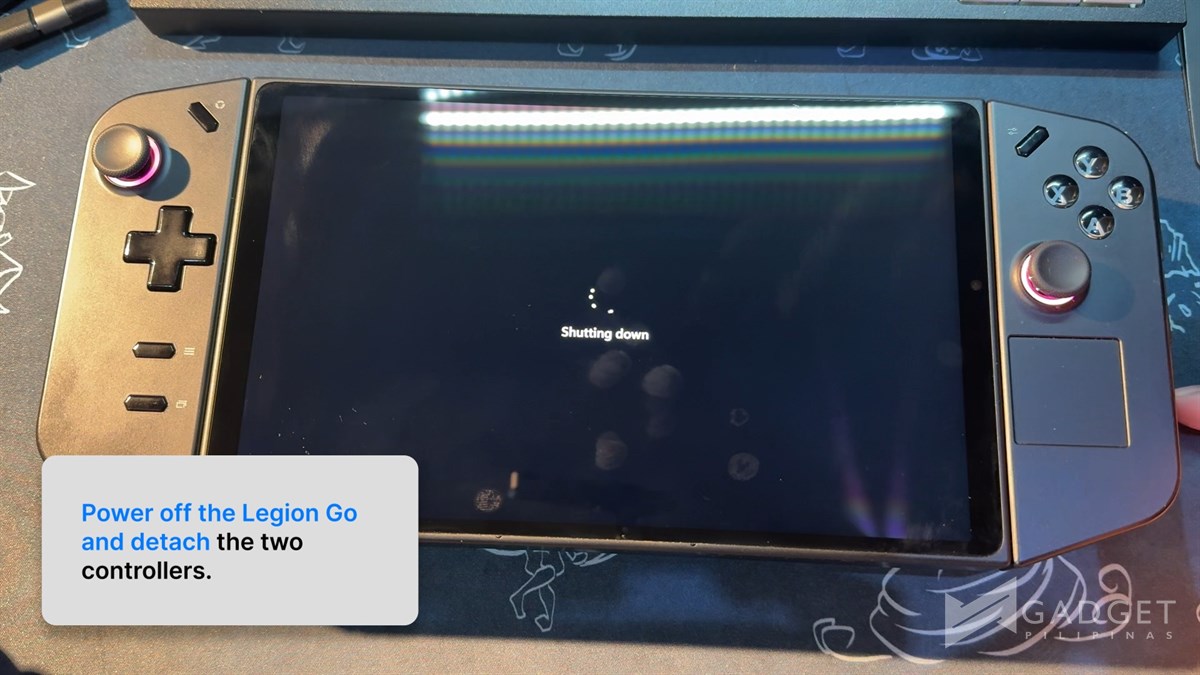
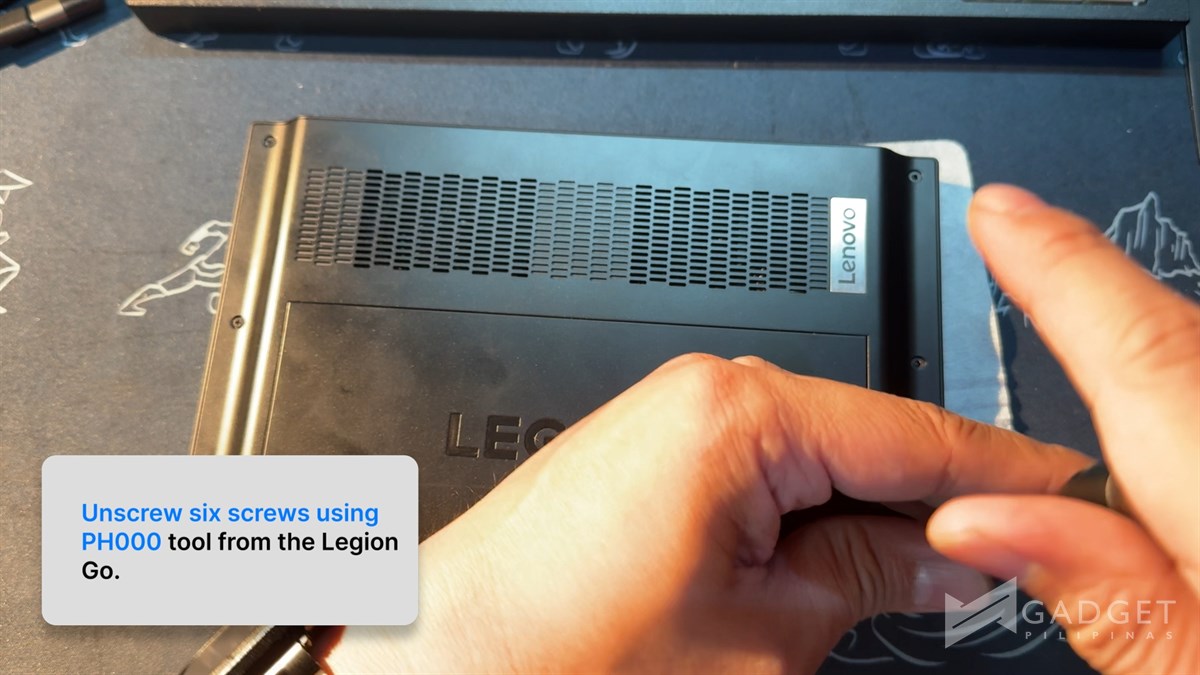
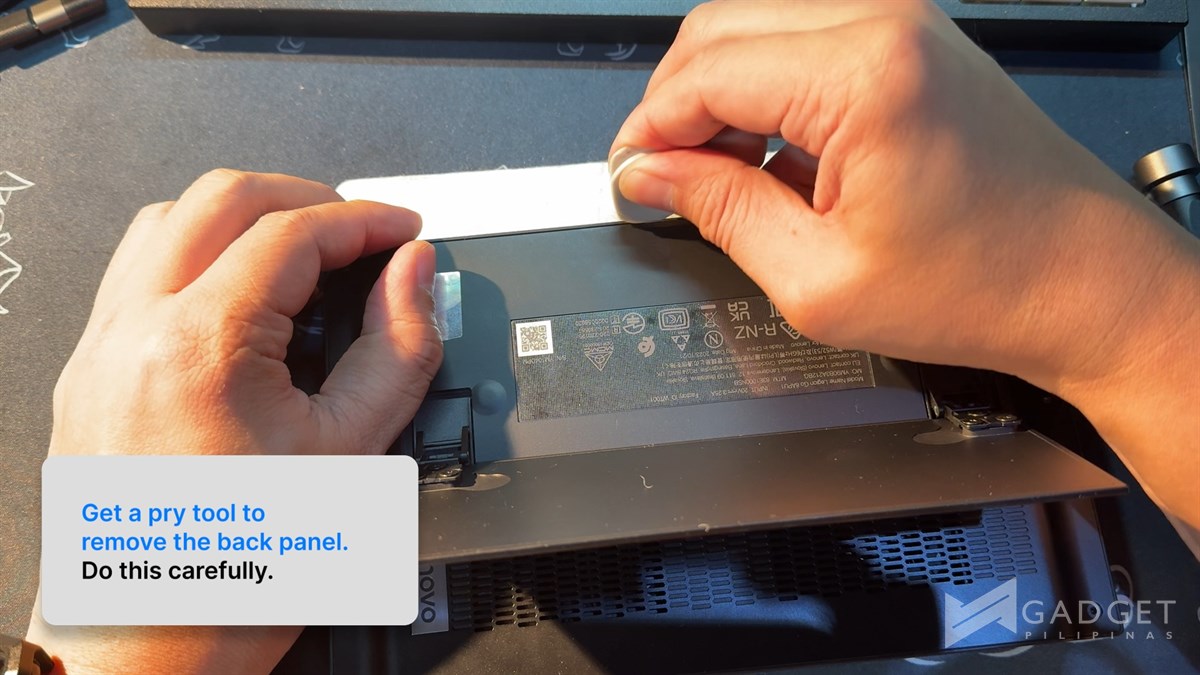
Before starting the upgrade, power off the Legion Go and remove the controllers. Lay the device flat on a cloth-covered table to protect the screen. Unscrew the six screws with a PH000 screwdriver and use a pry tool or guitar pick to lift the bottom panel. Carefully remove the back panel.
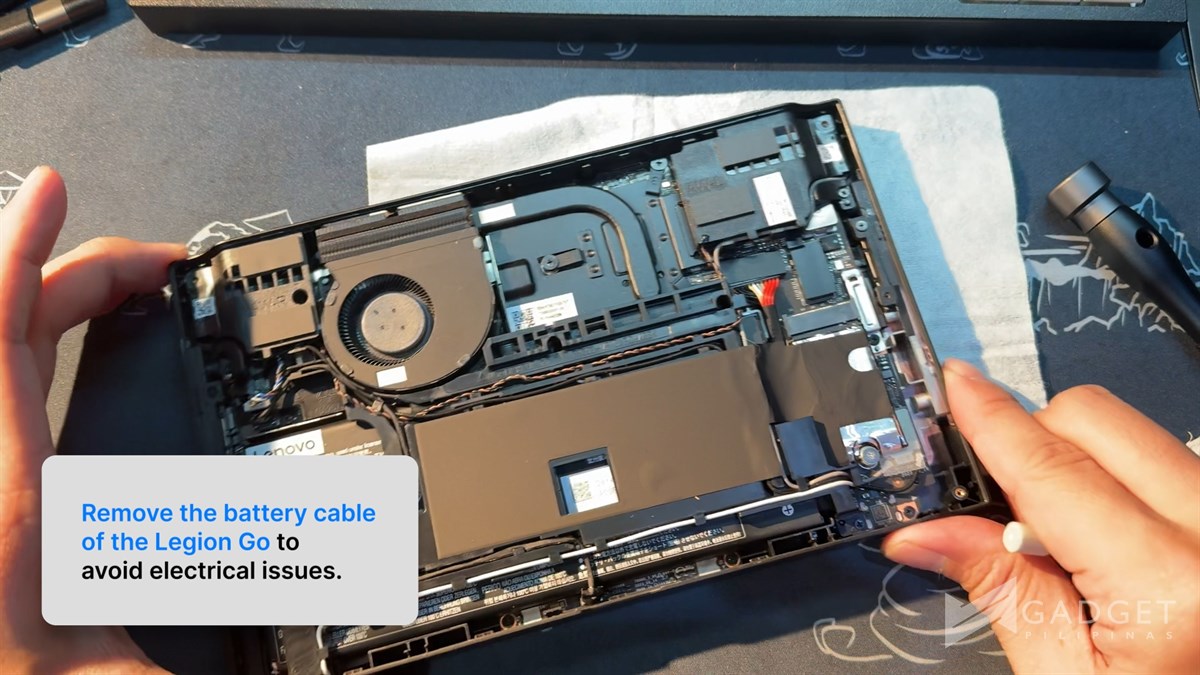
Disconnect the battery cable by removing the sticker, and then gently pull out the cable. Now, it’s time to focus on the SSD.
Step 2: SSD Replacement
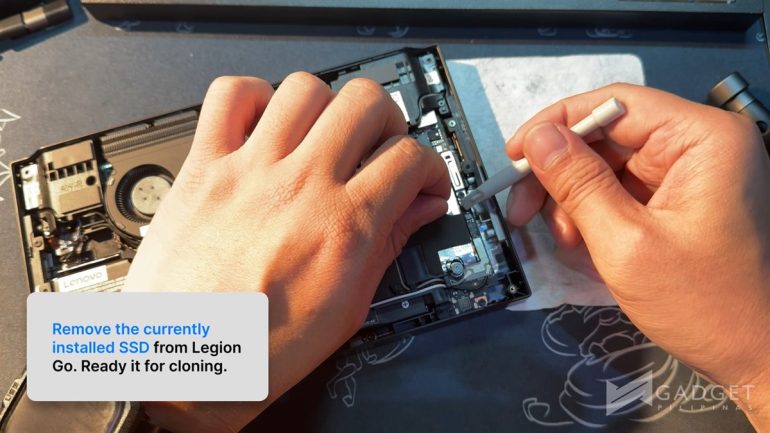
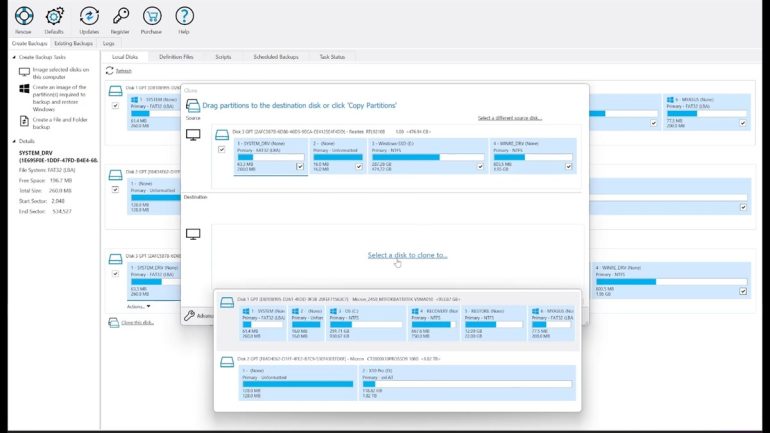
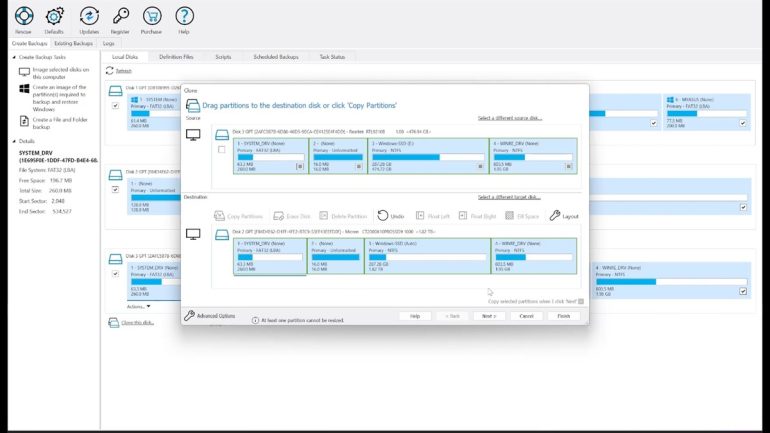
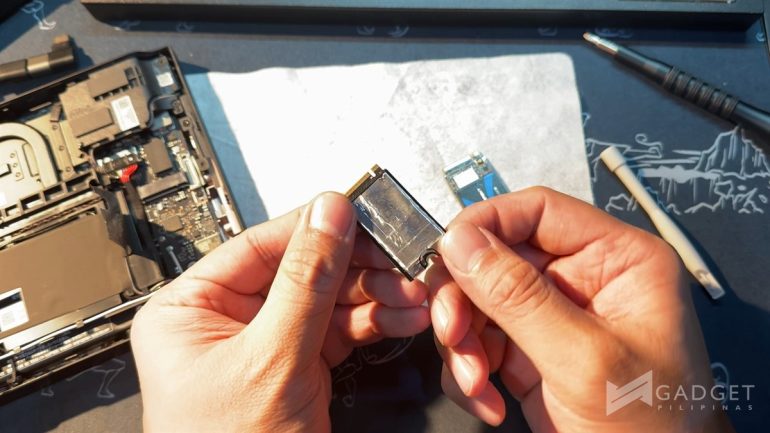
The SSD has a sticker covering it, but you only need to remove the portion covering the screw. Use a PH0 screwdriver to remove the screw, ensuring not to use one that is too small. Once the screw is out, proceed to clone the drive using Macrium Reflect.
Cloning is straightforward: identify the source drive, select “Clone this disk,” click “Copy Partitions,” and choose “Shrink or Extend to fill target disk.” Wait for the process to finish, and you’re almost there.
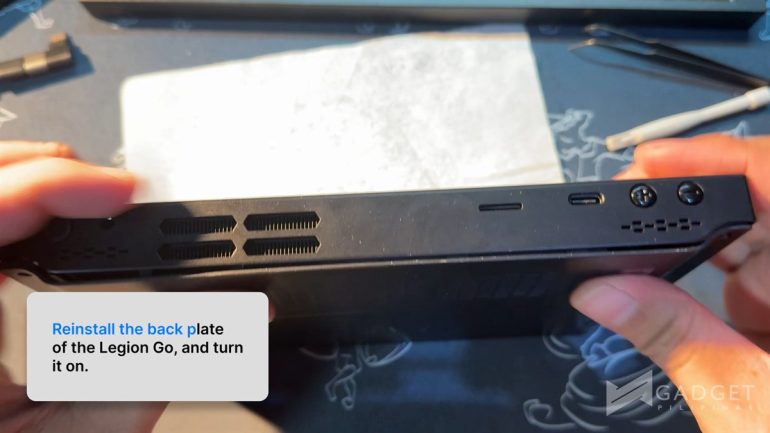
Step 3: Reassembling the Legion Go
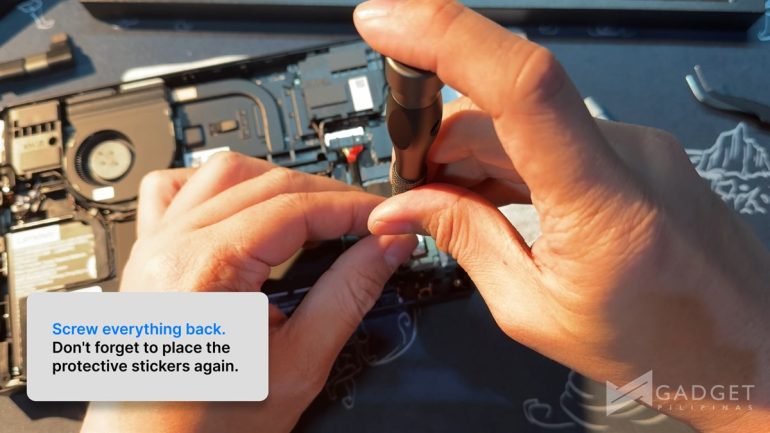
Transfer the heat EMI shield from the original 512GB SSD to the new one, starting from the bottom and working your way up. Secure it on the new SSD and place it back in the Legion Go. Screw everything back together, reconnect the battery cable, and reapply the protective sticker. Reinstall the back panel, screw it in, power up the Legion Go, and you’re good to go!
In my case, the Legion Go now boasts a 2TB SSD and a 1TB MicroSD card, providing ample space for all my games. Stay tuned for more articles and videos on the Legion Go, including a full review and comparisons.
Can you upgrade the SSD of the Lenovo Legion Go?
Yes.
Will this void warranty?
Refer to the guide below that was shared to us an official PH representative by Lenovo.
Warranty and upgrading the SSD on the Legion Go from official local PH store:
Warranty will be intact provided that:
- Customers must first set up and redeem their 3-month free PC Game Pass using their Microsoft account
- Customers should clone the SSD to ensure all pre-installed software are intact
- Any issues encountered due to the SSD self-upgrade process (ESD, cut cables etc) will void the warranty
This guide is also available in video format via YouTube. The instructions are in Taglish.

Giancarlo Viterbo is a Filipino Technology Journalist, blogger and Editor of gadgetpilipinas.net, He is also a Geek, Dad and a Husband. He knows a lot about washing the dishes, doing some errands and following instructions from his boss on his day job. Follow him on twitter: @gianviterbo and @gadgetpilipinas.